
Simple Steps That Help Walls Look Smooth and Clean
If you want a smooth, clean wall finish, the best drywall installation tips are simple: start with flat framing, measure carefully, hang panels the right way, use the right fastener spacing, and take your time with taping and sanding. A flawless result comes from steady prep and careful detail work, not rushing. In homes around Salisbury, NC, small mistakes can stand out fast once paint and light hit the wall, so each step matters.
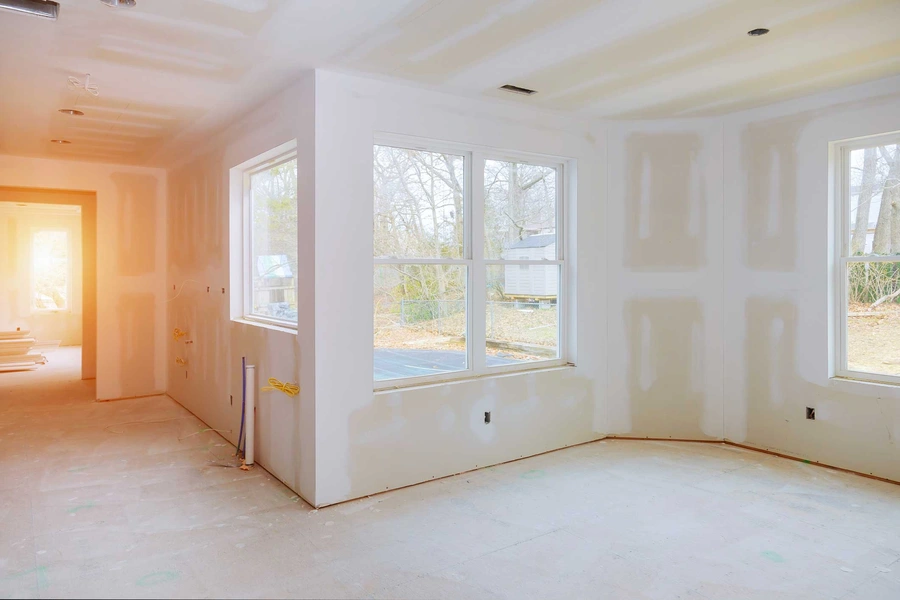
What You Need Before Starting
Before any drywall installation begins, gather the right tools and check the room. This saves time and helps avoid gaps, uneven seams, and weak spots. You also want to confirm that electrical, plumbing, and insulation work is done before covering the walls. If this is part of a larger remodel, interior finishing work should be planned in the right order so one trade does not damage another.
- Drywall sheets in the right thickness
- Drywall screws or nails
- Utility knife and spare blades
- Tape measure and T-square
- Drywall saw
- Screw gun or drill
- Joint tape and joint compound
- Drywall knives in different sizes
- Sanding sponge or pole sander
- Lift or helper for ceiling panels
It also helps to check wall studs with a straightedge. If framing is bowed or out of line, the finished wall may never look fully smooth, even with good mud work.
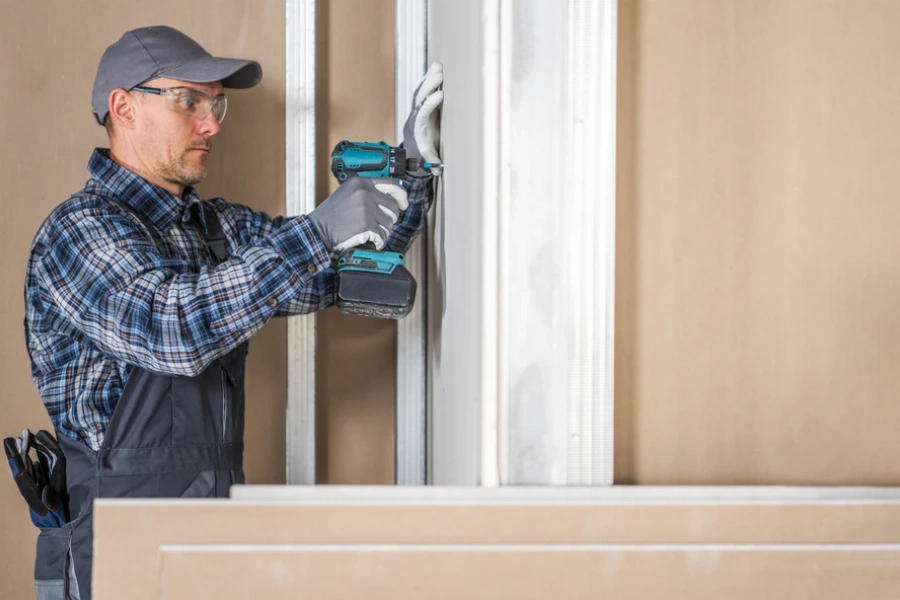
Step-by-Step Process for Better Results
A clean finish comes from doing the steps in the right order. Each part builds on the one before it. If one step is rushed, the next one gets harder.
- Measure each wall and ceiling area carefully before cutting any sheet.
- Mark outlet boxes, switches, and vents with care.
- Hang ceiling sheets first, then wall sheets below them.
- Place sheets so factory edges meet where possible.
- Stagger seams so long joints do not line up across the room.
- Fasten panels with even screw spacing and avoid overdriving screws.
- Apply tape over seams with a thin first coat of compound.
- Let each coat dry fully before adding the next coat.
- Feather each coat wider than the one before it.
- Sand lightly between coats and check the wall under bright light.
One smart tip is to cut sheets so butt joints are limited. Factory edges are easier to finish because they form a shallow recess for tape and mud. Butt joints can be harder to hide and often need wider feathering.
Common Mistakes to Avoid
Many drywall installation problems come from small errors early in the job. Poor layout, bad screw depth, and heavy sanding can leave visible flaws after painting. A wall may look fine at first, then side lighting shows every ridge and dip.
Here are common mistakes that lead to trouble:
- Skipping prep on studs and uneven framing
- Using damaged or damp drywall sheets
- Letting seams line up in long straight runs
- Driving screws too deep and breaking the paper face
- Using too much joint compound at once
- Not waiting long enough between coats
- Sanding too aggressively and scuffing the paper
- Forgetting to check the wall with work lights before paint
Another mistake is trying to hide bad seams with more mud. Thick compound often shrinks, cracks, or leaves humps. Thin, even coats usually give a better result.
When to Call a Professional
Some small patches are fine for a handy homeowner, but full drywall installation can be harder than it looks. High ceilings, large rooms, tricky corners, patched framing, and rooms with lots of windows often need skilled hands. The same goes for surfaces that need a very smooth finish for flat paint or strong natural light.
You may want professional help if:
- The ceiling needs new drywall sheets
- The framing is uneven or damaged
- You need a fast turnaround for a remodel
- The room has curved walls or detailed trim
- You want smooth walls with very low visible seams
- There was water damage or mold in the area before
A pro can also spot problems behind the walls before they get covered up. That can save money and stress later. Clean finishing is often the hardest part, so if the final look matters a lot, outside help can be a smart choice.
Final Recommendation
For a flawless interior finish, focus on solid prep, careful sheet placement, correct fastening, and patient finishing. Good drywall installation is not just about putting panels on a wall. It is about creating a flat surface that still looks clean after primer, paint, and daily light exposure. Work slowly, check each stage, and fix small issues before moving on. That simple habit often makes the biggest difference.
Get Help With Your Next Project
If your home in Salisbury, NC needs smooth walls and clean results, we are here to help. At Maro Construction Services Company, we handle drywall installation with care from start to finish. Call us at (516) 462-5158 if you want us to take a look and talk through the next steps.